


Fortnite

Call of Duty: Mobile Season 11
Build A Queen

Poppy Playtime Chapter 2
Free Fire MAX
Genshin Impact

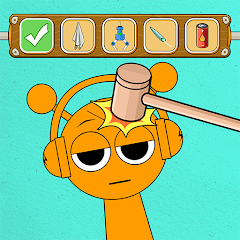
Horror Spranky Beats
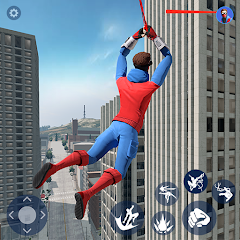
Spider Fighting: Hero Game
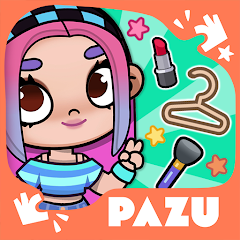
Avatar Maker Dress up for kids
Spranky Transformer
Advertisement

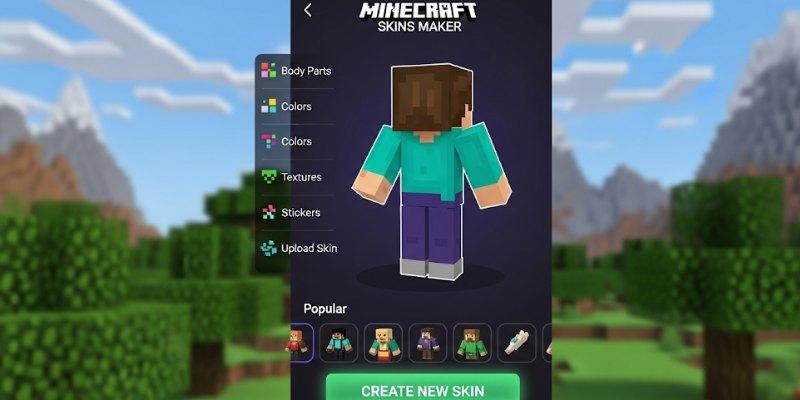
3D Skins Maker for Minecraft


ScreenShots
Advertisement
Editor’s Review:
3D Skins Maker for Minecraft is a creative and user-friendly app that allows players to design custom Minecraft skins with complete control over their character’s appearance. It combines intuitive tools with powerful 3D modeling features, making it suitable for beginners and experienced creators. Whether you want to craft a skin from scratch or edit pre-existing templates, this app provides everything you need to bring your ideas to life.
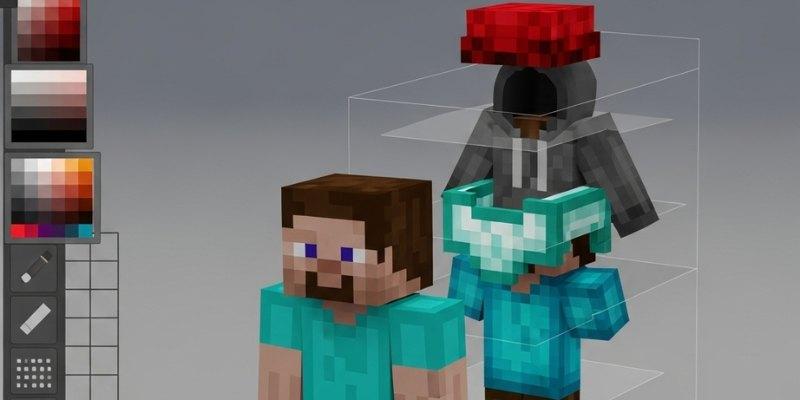
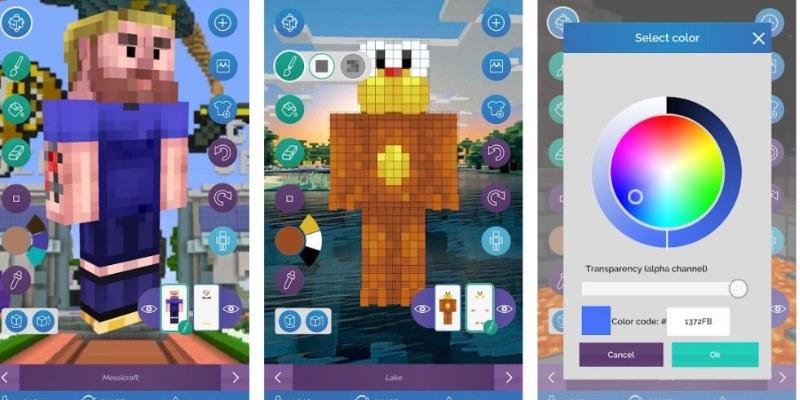
The interface is smooth, well-organized, and easy to navigate. Tools for coloring, shading, and adding intricate patterns are easily accessible. The real-time 3D preview is beneficial, showing precisely how your skin will appear in the game. This feature ensures that every color choice, shade, and detail looks perfect before exporting. The layering system adds another level of customization, letting players add hats, armor, or accessories, and toggle these layers on or off to check different combinations.
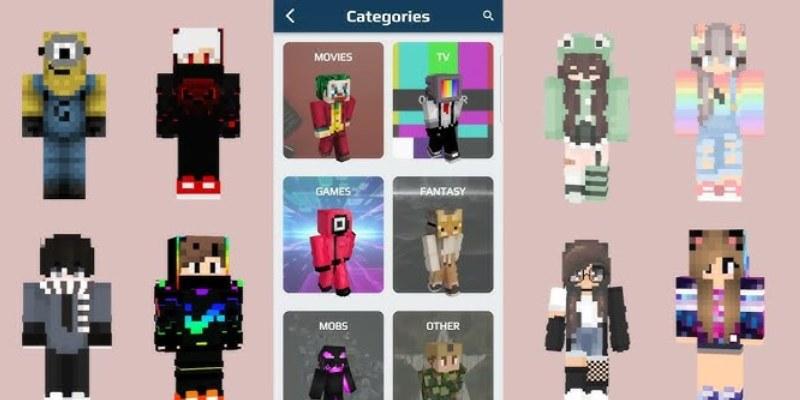
Sharing and importing skins is convenient and straightforward. Players can upload their custom designs directly to Minecraft, share with friends, or download popular community skins for inspiration. This social feature motivates players to experiment, learn new techniques, and continuously improve their creations.
Frequent updates, seasonal templates, and a growing library of user-generated skins expand creative possibilities and keep the app fresh. Players can also participate in challenges, showcase their designs online, and receive feedback from a supportive community. While the app offers an impressive variety of options, some users may initially feel slightly overwhelmed.
However, the in-app tutorials, video guides, and help sections make mastering the app straightforward and quick. Overall, 3D Skins Maker for Minecraft delivers a fun, engaging, and creative experience for all Minecraft enthusiasts. With practice, you can improve creativity. You can craft standout skins that show your unique style and personal preferences. It also helps you express ideas and enjoy designing more each day.
How to Play?
Step 1: Open the app, select “New Skin” or choose an existing template to edit. Beginners should start with a template for guidance.
Step 2: Rotate the 3D model using touch controls or a mouse. Viewing all sides ensures your edits are accurate.
Step 3: Select brushes, colors, and patterns from the palette. Tap or click on the model to apply colors and designs with precision.
Step 4: Use shading tools to add depth and realism. Adding highlights and shadows makes your skin appear three-dimensional.
Step 5: Add layers for accessories such as hats, armor, or unique patterns. Toggle each layer on or off to see different combinations and effects.
Step 6: Preview your skin in the 3D window. Rotate, zoom, and inspect every angle to ensure no details are missed.
Step 7: Save your skin in PNG format. Give it a distinctive name to easily locate it for future use.
Step 8: Export or share your skin. Upload it to Minecraft, share it with friends, or post it to online communities for feedback and inspiration.
Download for App
Ratings
similar games


Online Games

Disclaimer
2 . Vicitygame provide screenshots, historical version Apk, links and other information, which we collected fromGoogle Play. we will also add our own reviews to providechoose
3 . All trademarks,registered trademarks, product names and company names or logos appearing on the siteare the property of their respective owners.
4 . Vicitygame abides by the federal Digital Millennium copyright Act (DMCA) by responding to notices of alleged infringement that complies with the DMcA and other applicable laws.
5 . We guarantee the security of apk files downloaded from our site and also provide the official download linkat Google Play Store and App Store.
6 . lf you are the owner or copyright representative and want to delete your information, please contact [email protected]
7 . All the information on this website is strictly observed all the terms and conditions of Google Ads Advertisingpolicies and Google Unwanted Software policy.